|
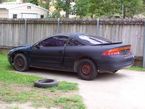
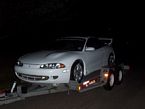
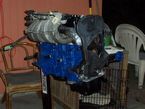
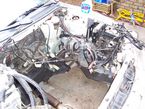
I started with a used up 95
Eagle Talon ESi.
Unbolted, unplugged,
and labeled everything I could find.
Removed the
transmission.
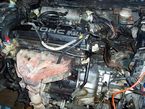
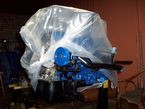
Carefully... Ripped the engine out, and mounted it on a stand.
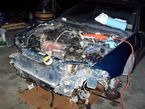
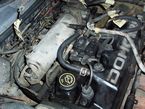
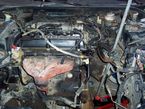
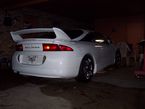
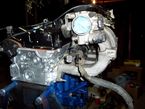
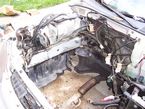
Got a
better junk car, my Mitsubishi Eclipse. Removed the
hood.
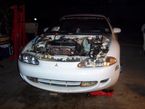
Ripped the blown engine out
and salvaged what I could.
Notice the Hole in the block where it blew up. WOW!

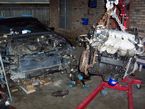
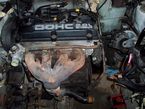
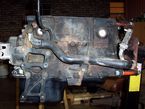
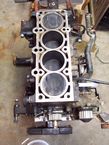
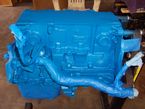
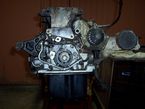
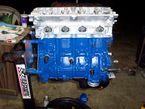
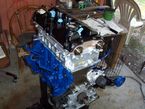
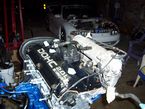
Below is the Eagle Talon
420a engine block that I will put into the eclipse.

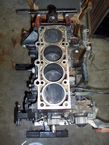
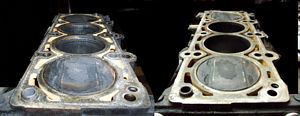
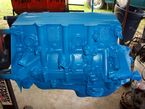
Side by side comparison of the block
top surface before
and after cleaning.
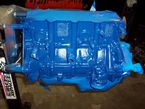
I
Cleaned and taped the block. Prepared for painting.
Painted surfaces with high temperature engine paint.
Allowed the paint dry, then recovered surfaces as
necessary
to trim remaining parts. Water pipes, brackets, and dipstick.
Side by side pictures of the 420a engine before, during,
and after painting.


Painted some accessories as well.
Belt tensioner pulley,
exhaust heat shields, and
brackets shown here.
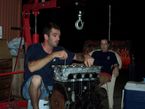
Took a break to let the
paint dry. My helper... took a nap.
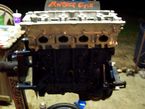
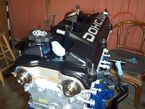
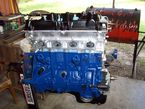
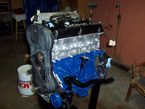
After all painted surfaces
were dry, I began to
reassemble the engine.
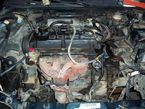
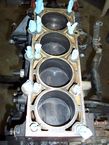
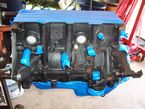
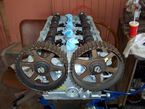
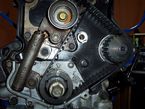
[Front view of block]
Here you can see the
oil pump,
water pump, and crankshaft timing marks.
The picture in the middle shows the new
water-pump.
Re-cleaned the surface of the block before installing the
cylinder head.
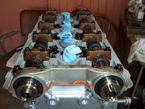
Cylinder Head
Installation
When bolting the cylinder head to the engine block,
followed torque specs and sequences carefully.
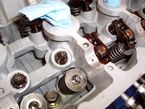
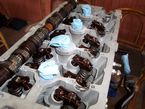
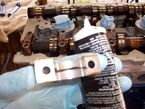
Head
components
It is suggested that you buy a new set of head bolts,
the old bolts are likely to be stressed or stretched.
A new set is cheap compared to the problems that could
arise if the bolts fail.
|
New Head Bolts |
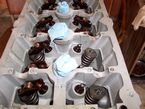
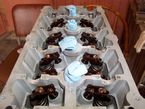
When head
components are removed,
make sure to keep them in order.
They must be replaced in their original positions.
|
|
 |
 |
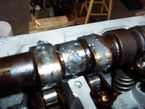
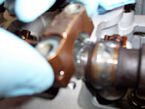
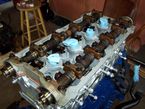
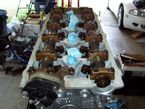
Coated all head components, and cam journals with assembly lube.
Installed the lash adjusters in their respective locations.
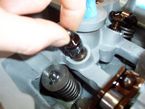
Then the rocker arms,
with lube on the tips and seats.
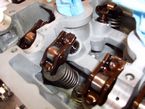
Coated cam lobes with assembly lube, and placed
them in
their original locations.
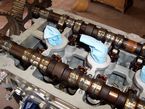
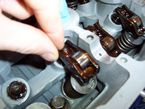
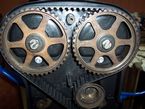
With the cams in place,
I temporarily installed the cam
gears,
and aligned the cam gear timing marks.
If the cams are not in the correct position, damage may
occur when the caps are fastened down.
Coated the cam caps with assembly lube.
This will help prevent damage to the journals.
Tightened the cam caps,
following the required sequence and torque
specifications. Used sealant as required on the outer #1
and #6 bearing caps.
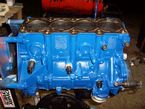
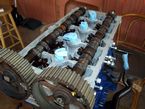
Below is what it looked like when complete.
Here I placed towels in the spark-plug cavities to help prevent
trash from getting into the cylinders. Maybe not the
best idea though, paper fibers may fall into the
cylinder.
If you have to stop
working, your MUST cover all components
to ensure trash does not get into the engine.
Some plastic bags and tape worked fine for me.
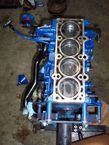
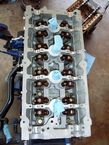
Installed the valve cover
and gaskets, with sealant.
Tightened valve cover bolts following the
specified sequence and torque specs. Installed cam
position sensor
[middle picture].
Replaced the previously removed timing components.
Aligned the timing marks accordingly, and installed a new
timing belt.
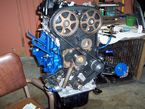 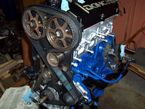 
Plunger type timing
belt tensioner.
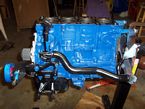
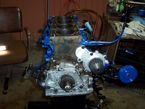
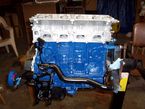
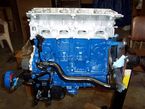
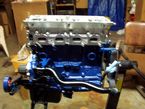
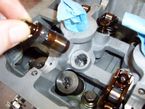
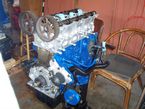
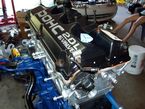
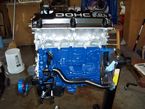
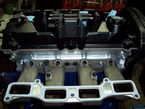
Installed intake manifold, fuel rail,
injectors, and coil pack.
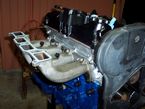  
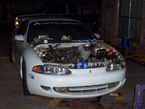
Stepped back to see how things
were going.

Chance of Success?
80:20 ?
|
|
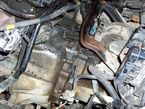
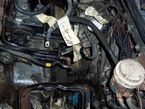
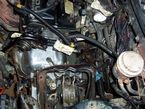
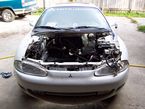
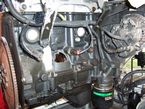
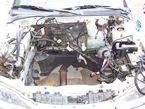
Clean
the engine compartment before putting the motor back into
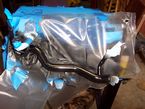
the car. In these photos, its not clean.
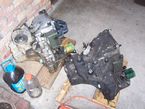
Pictures
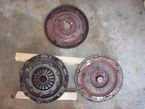
of the transmissions I removed from the cars.
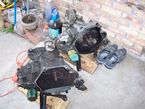 
|
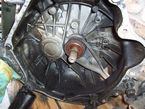
| |
2 Clutchs
and a Flywheel
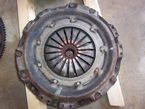
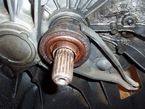
1 piece
clutch. Riveted together.
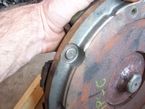 
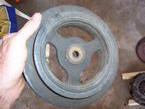
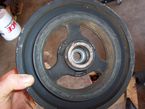
Harmonic
Balancer or Driveshaft pulley.
   |
|


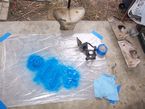
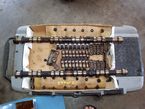
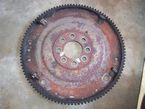
 I dont remember why I saved this...